A Quick Guide
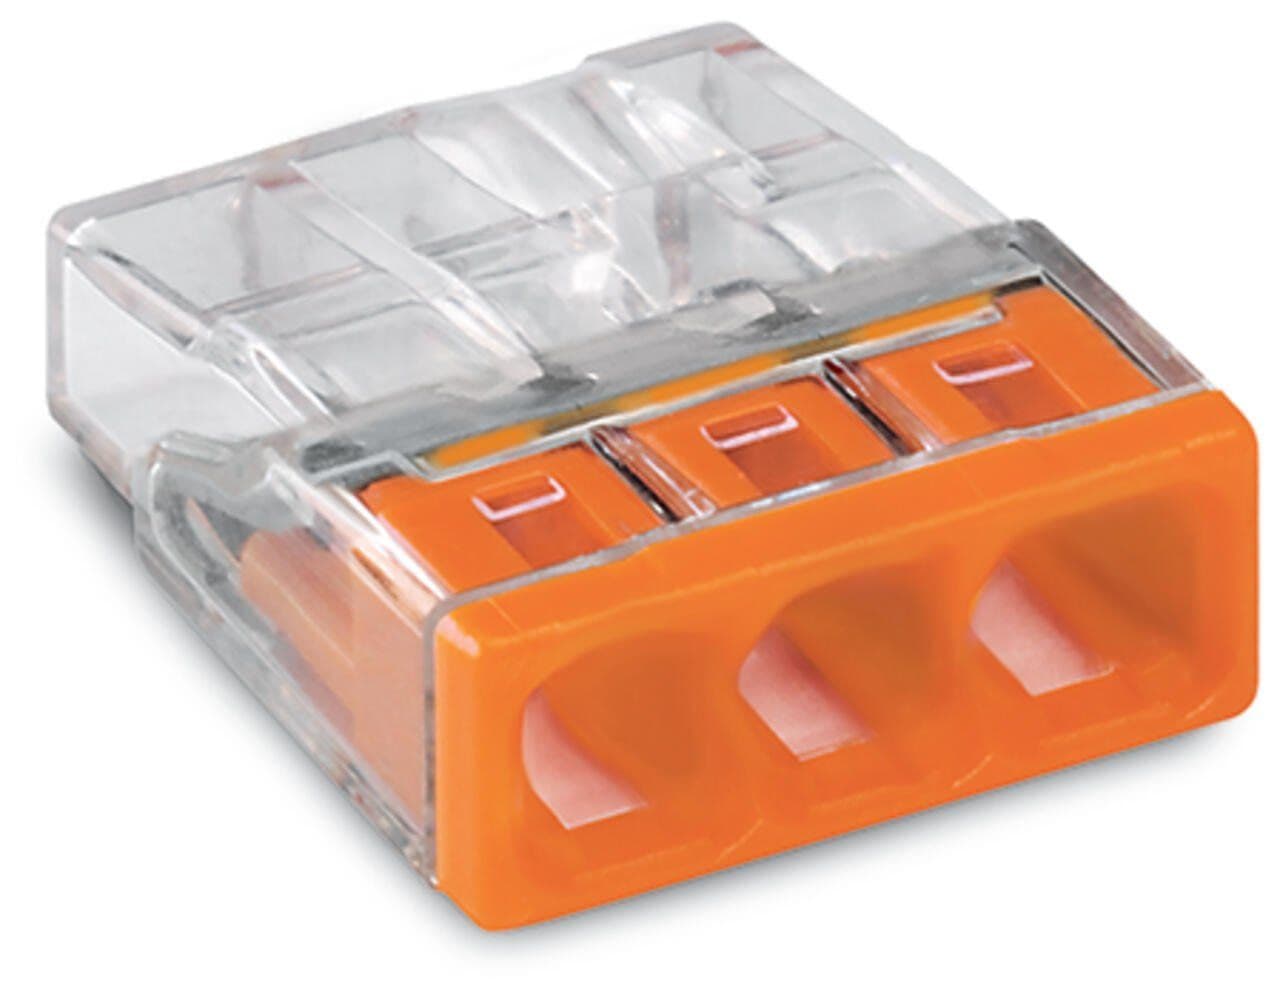
For the most common 221 series of Wagos (the image above), here is a quikc guide so you can use them and crack on with your job. If you want to find out more about them, read on.
- Plan your cable route
- Clip the end of the cable sheathing
- If you have more than one core you'll need to repeat the process to expose the copper cable
- Make sure you only expose around 11mm of copper wire/cable
- Lift the lever on the Wago connector
- Slide the cable into the Wago's channel
- Close the lever
- Repeat for each core that you have using different Wago connectors where necessary (eg live cables in one, neutrals in another etc)
- If you are joining cables repeat the process with the other cable
If you work with UK electrics, you have almost certainly seen those neat little clear connectors with orange levers. Wago connectors are a simple idea done very well. They give you fast, tidy and repeatable joints, and they help you avoid many of the problems that creep in with tired screw terminals. They are not magic, though. Use them correctly, in the right enclosure, and to the right standard, and they will serve you for years. That is exactly what this guide covers.
What is a Wago connector
A Wago connector is a compact, spring-clamp terminal that joins two or more conductors without tools. With the popular 221 lever series, you lift the lever, insert the stripped conductor, and close the lever to clamp. With push-wire types such as the 2273 series, you simply push in a solid conductor to lock it. Both styles offer test ports and transparent housings for quick visual checks. The 221 series is approved for solid, stranded and fine-stranded conductors, which is one reason electricians reach for it first.
Are Wago connectors allowed in UK domestic wiring
Yes, provided you follow the Wiring Regulations. BS 7671 requires every connection to be enclosed, and if a junction will not remain accessible then you must use a maintenance free solution that meets BS 5733 and is installed exactly as the manufacturer instructs. The IET’s guidance explains that maintenance free junction boxes complying with BS 5733 may be installed in inaccessible positions, while connection boxes that bring together two or more circuits should comply with BS EN 60670-22. In short, enclose your joints correctly and use MF-rated gear where access is not possible.
Wago connector families at a glance
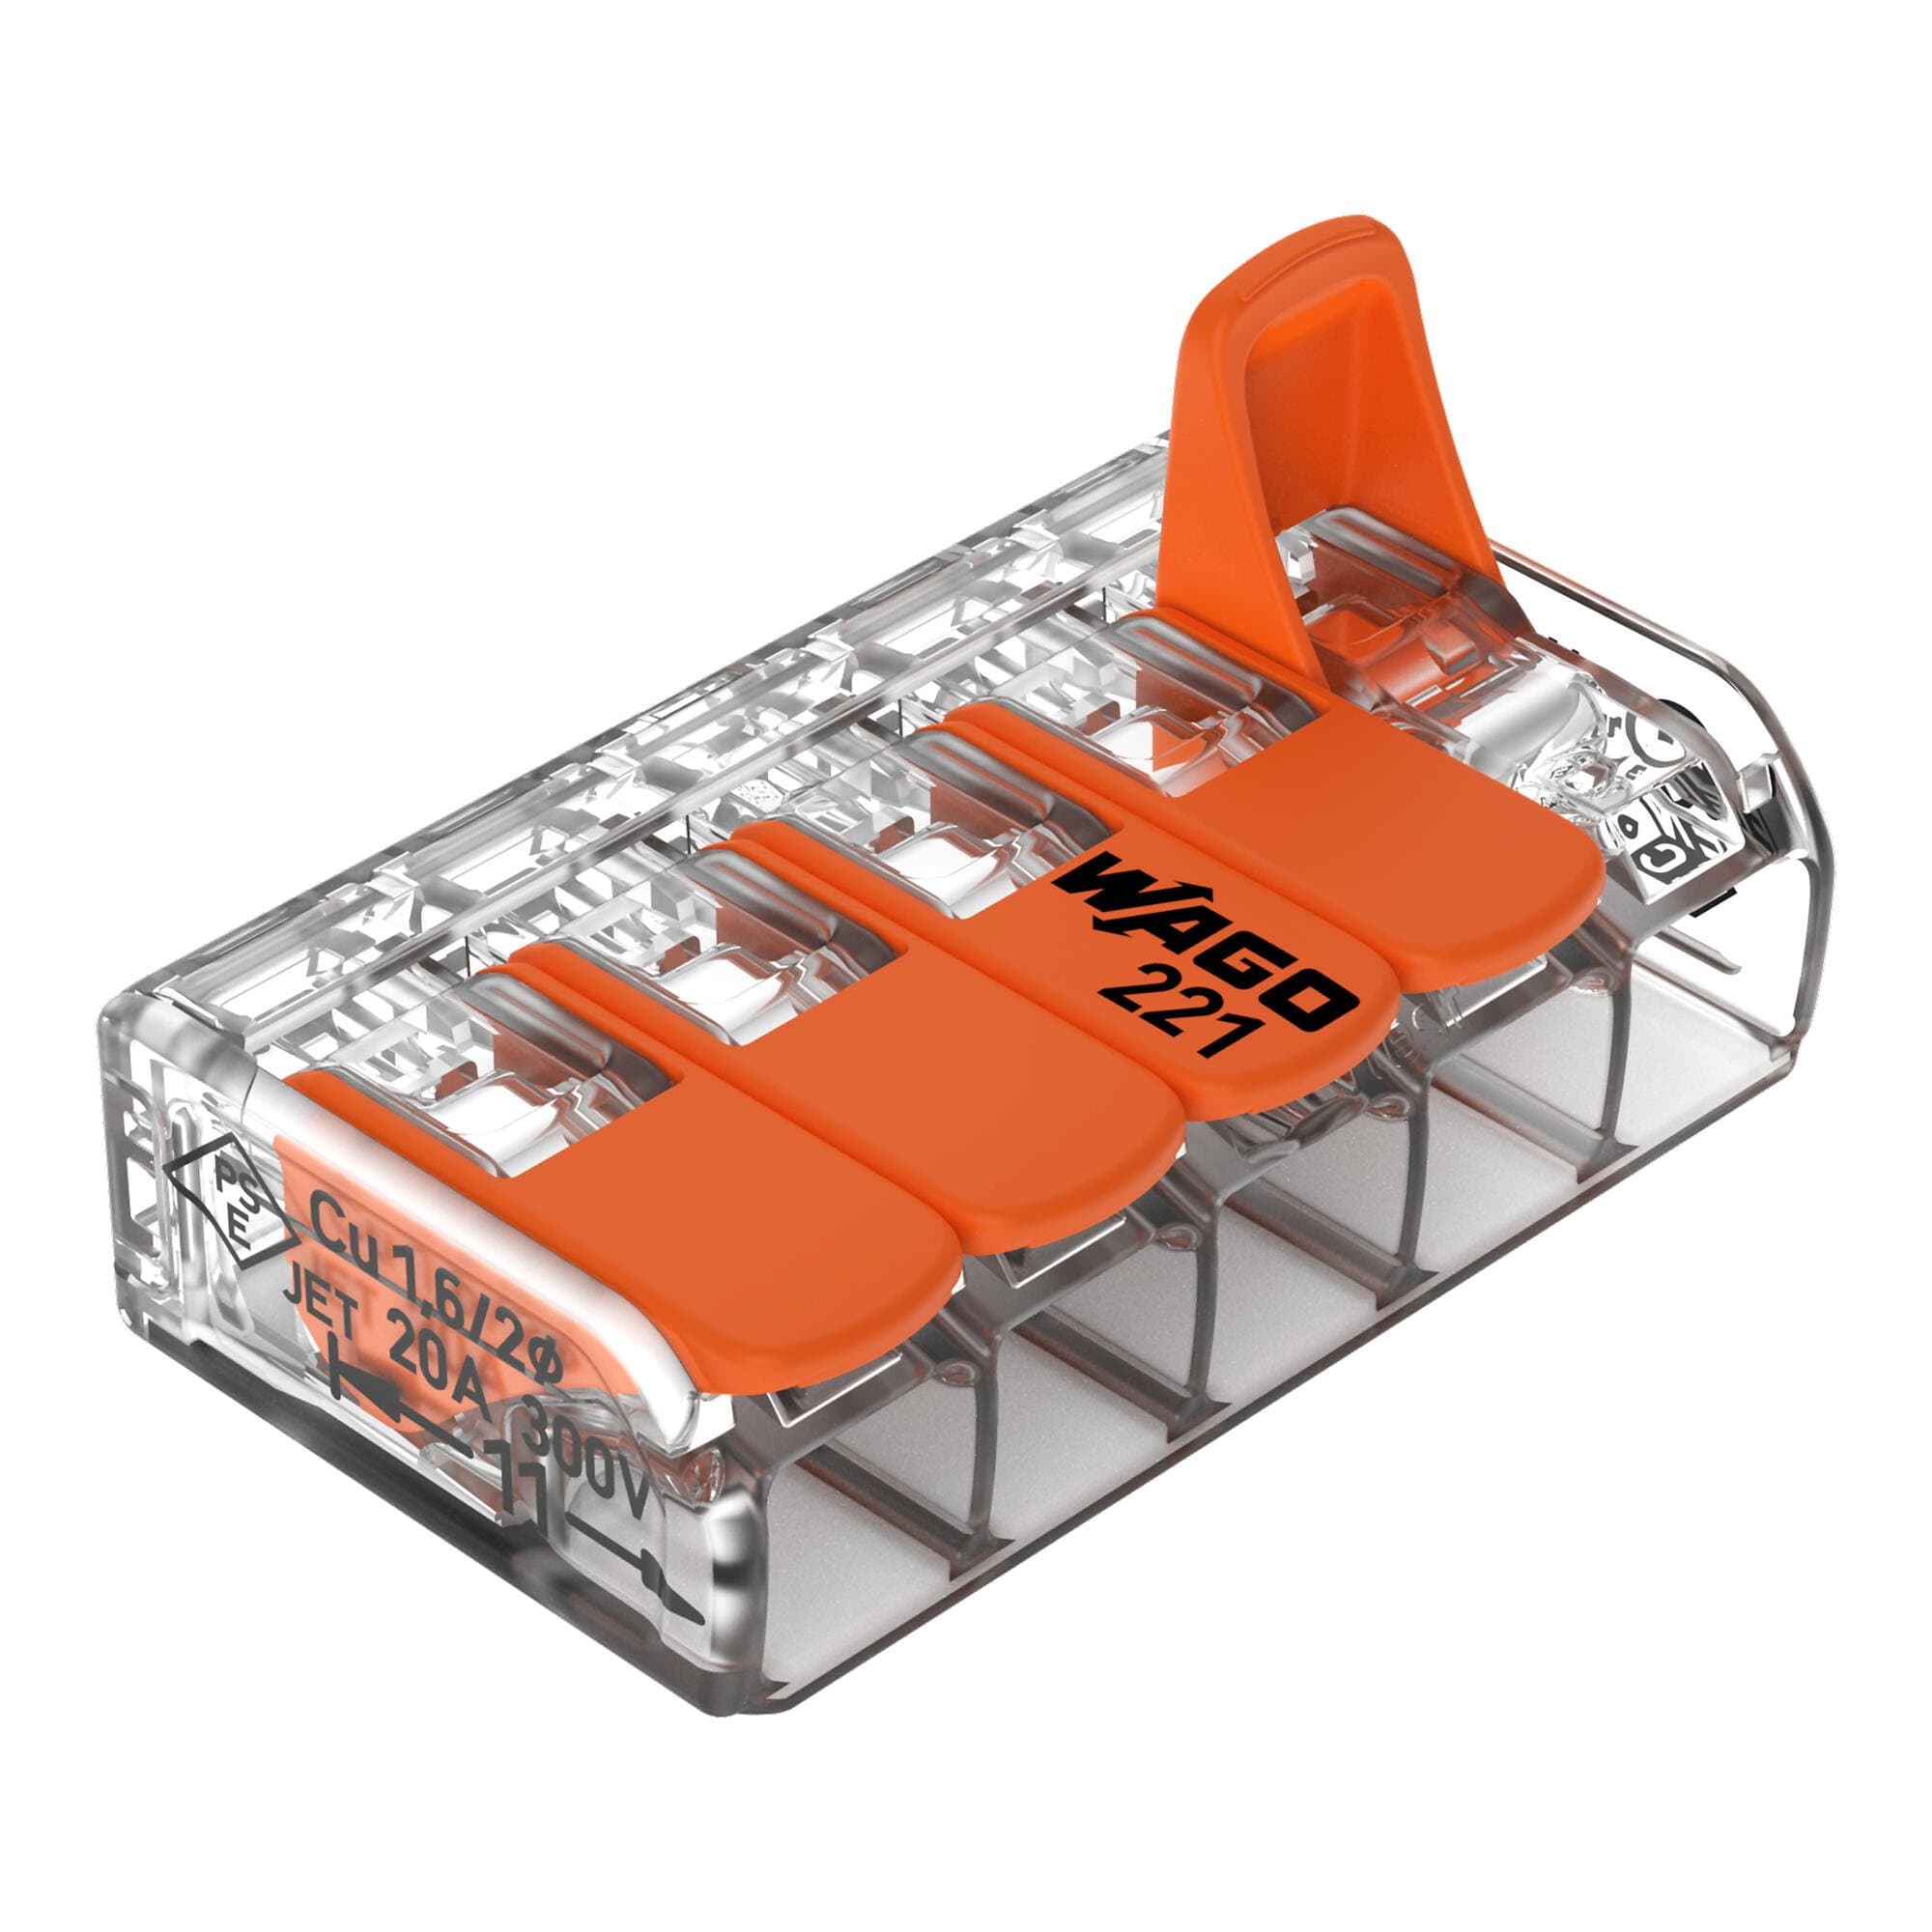
Wago 221 lever connectors
The 221 series is the all-rounder. It accepts solid, stranded and fine-stranded conductors in common sizes found in UK domestic wiring, has a transparent body for inspection, and is typically rated at 32 A with a 450 V rating. Strip to 11 mm and you are in business. Because of the spring technology, ferrules are not required for fine-stranded conductors, though you may choose to use them in particular applications.
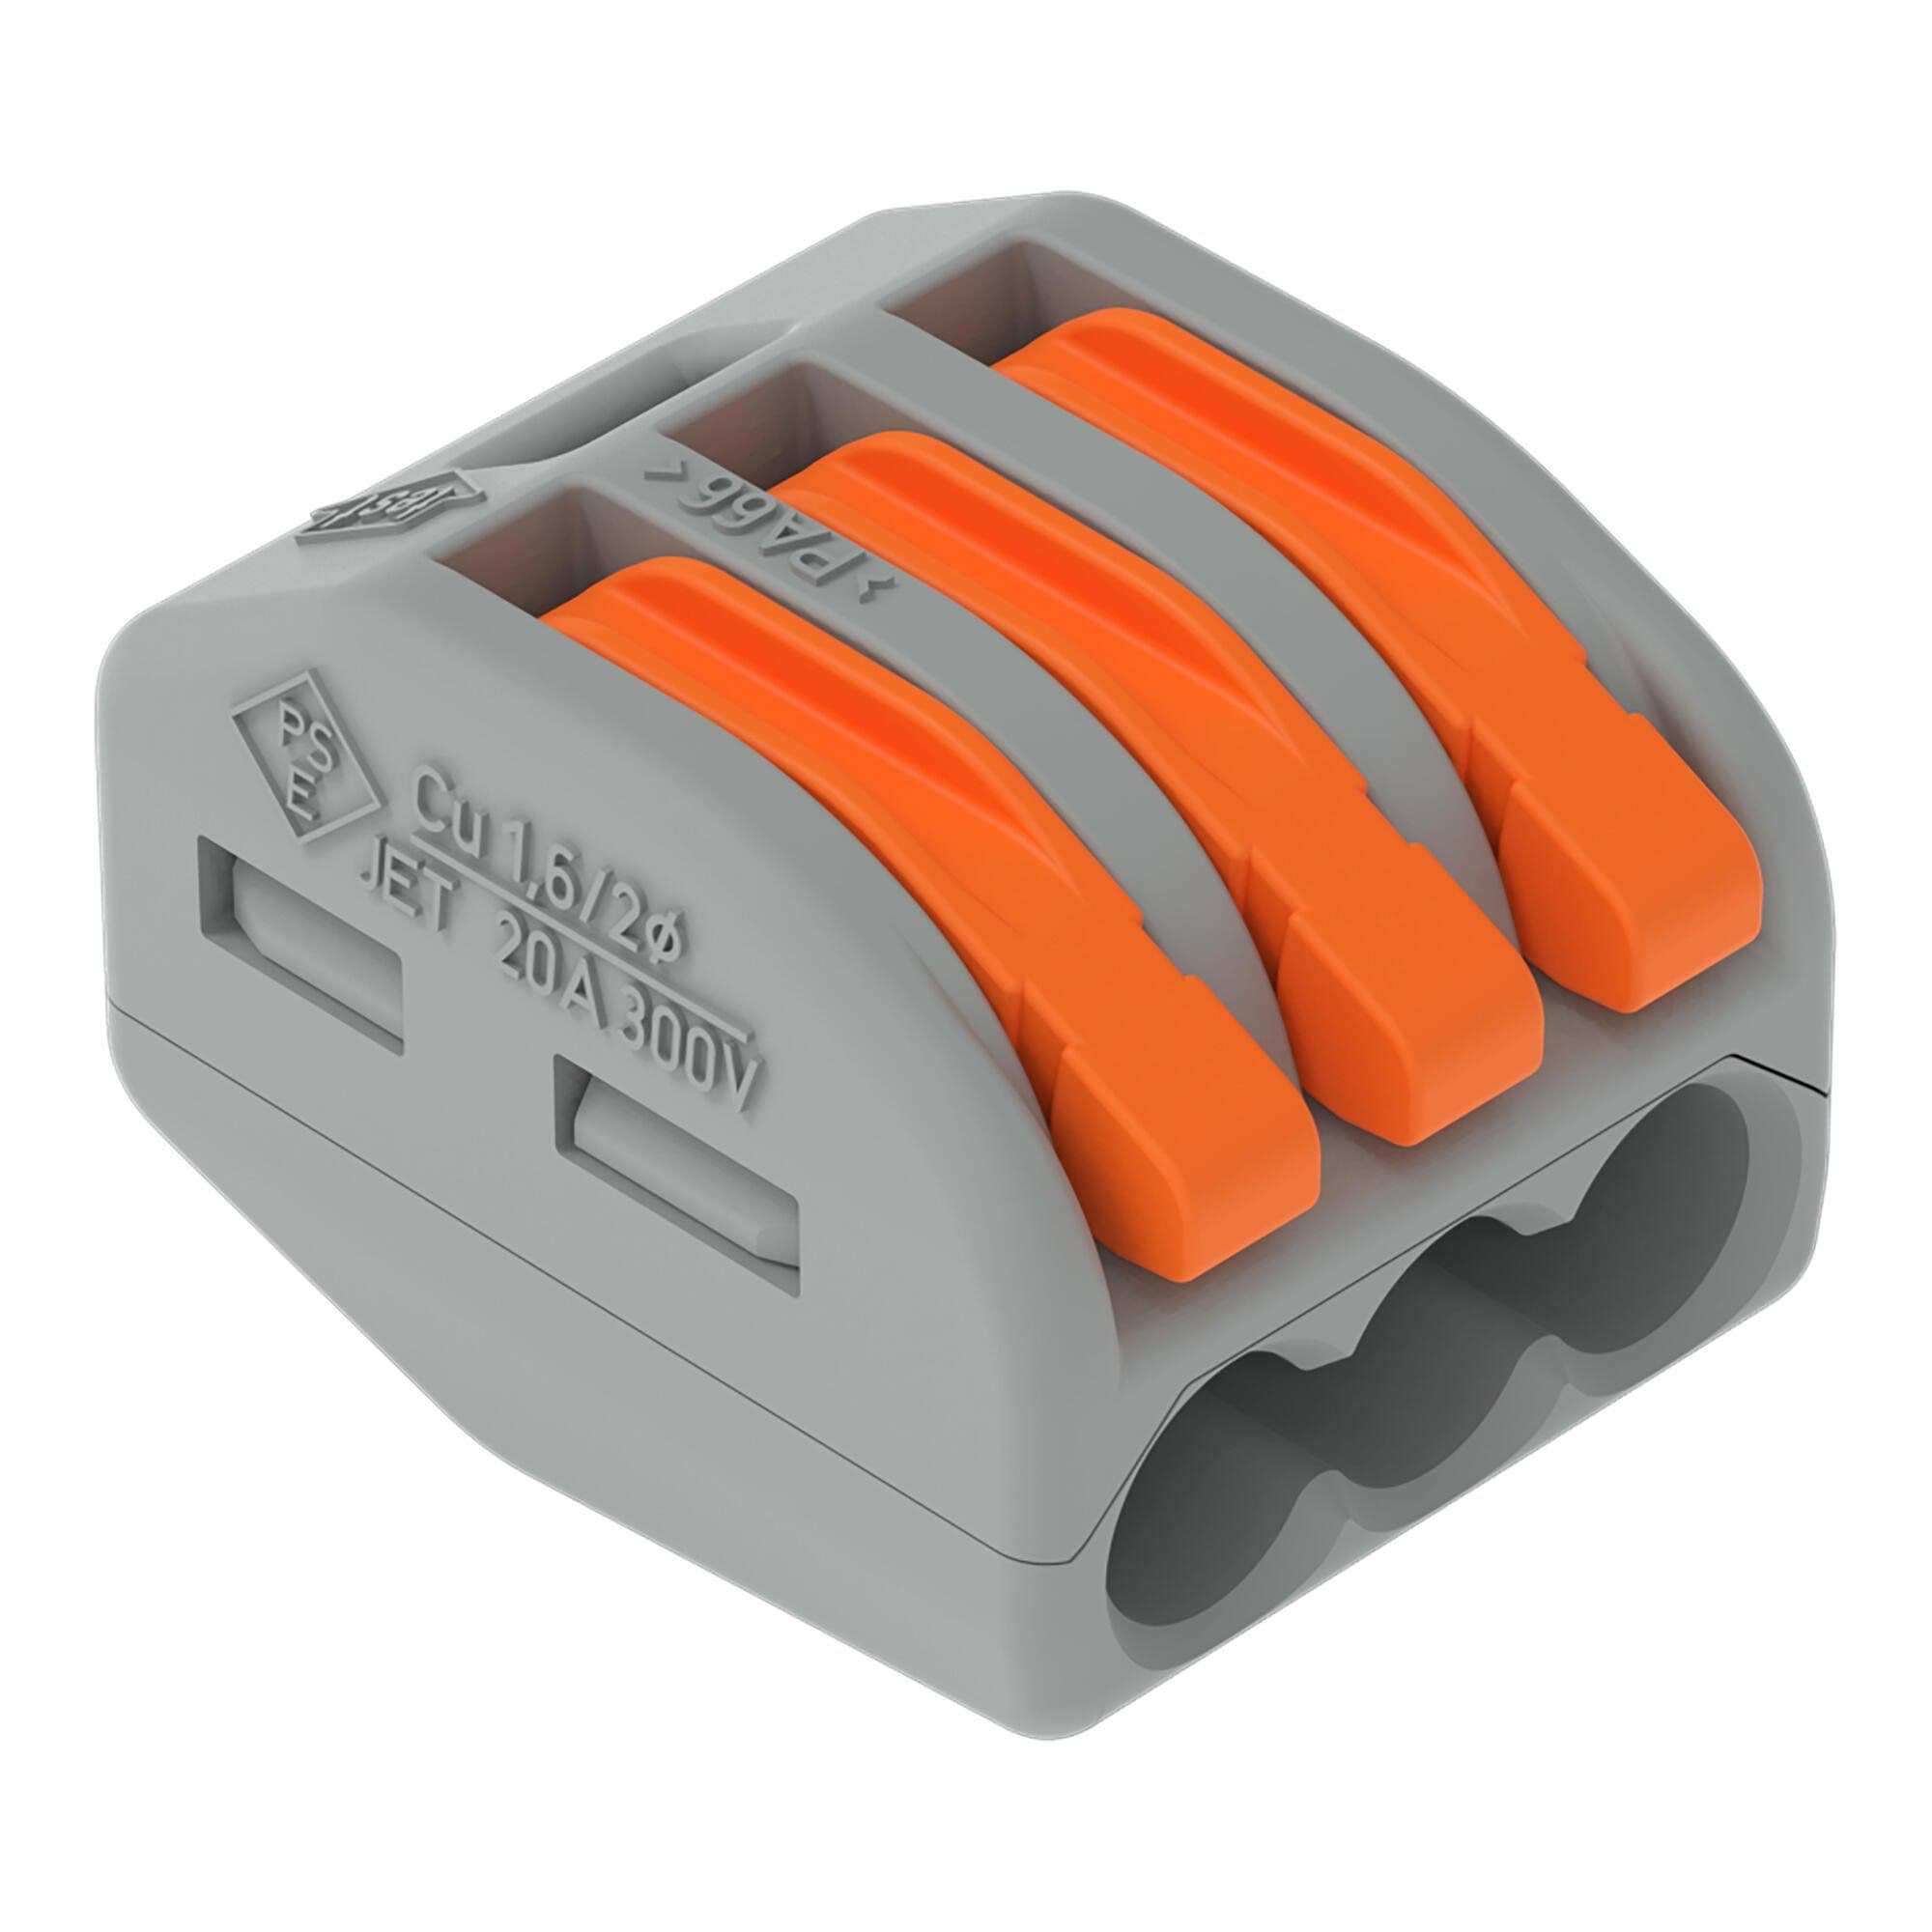
Wago 222 lever connectors
Think of the 222 series as the older, slightly larger sibling. It is also commonly rated at 32 A with typical strip lengths of 9 to 10 mm. Many installers still like it for temporary works or where extra room is not an issue.
Wago 2273 push-wire connectors
The 2273 series is compact and quick, designed for solid copper conductors only. It is commonly used in lighting junctions when speed matters and cable types are predictable. Typical data shows a 24 A rating, 0.5 to 2.5 mm² solid conductors and an 11 mm strip length. If you have flexible or fine-stranded cable, use a lever type instead.
Inline splicing connectors
For neat in-line repairs or extensions, the 221 inline splicing connector keeps the joint slim while preserving the same lever action and 11 mm strip length. It is handy where space is tight or where you want the cable to run straight through a box.
Lighting and compact connectors
On lighting jobs where you are transitioning from solid twin and earth to the flex of a fitting or driver, the levered 221 remains the safe choice. It copes with mixed conductor types without fuss, which reduces both rework and guesswork.
Weatherproofing with Wago Gelbox
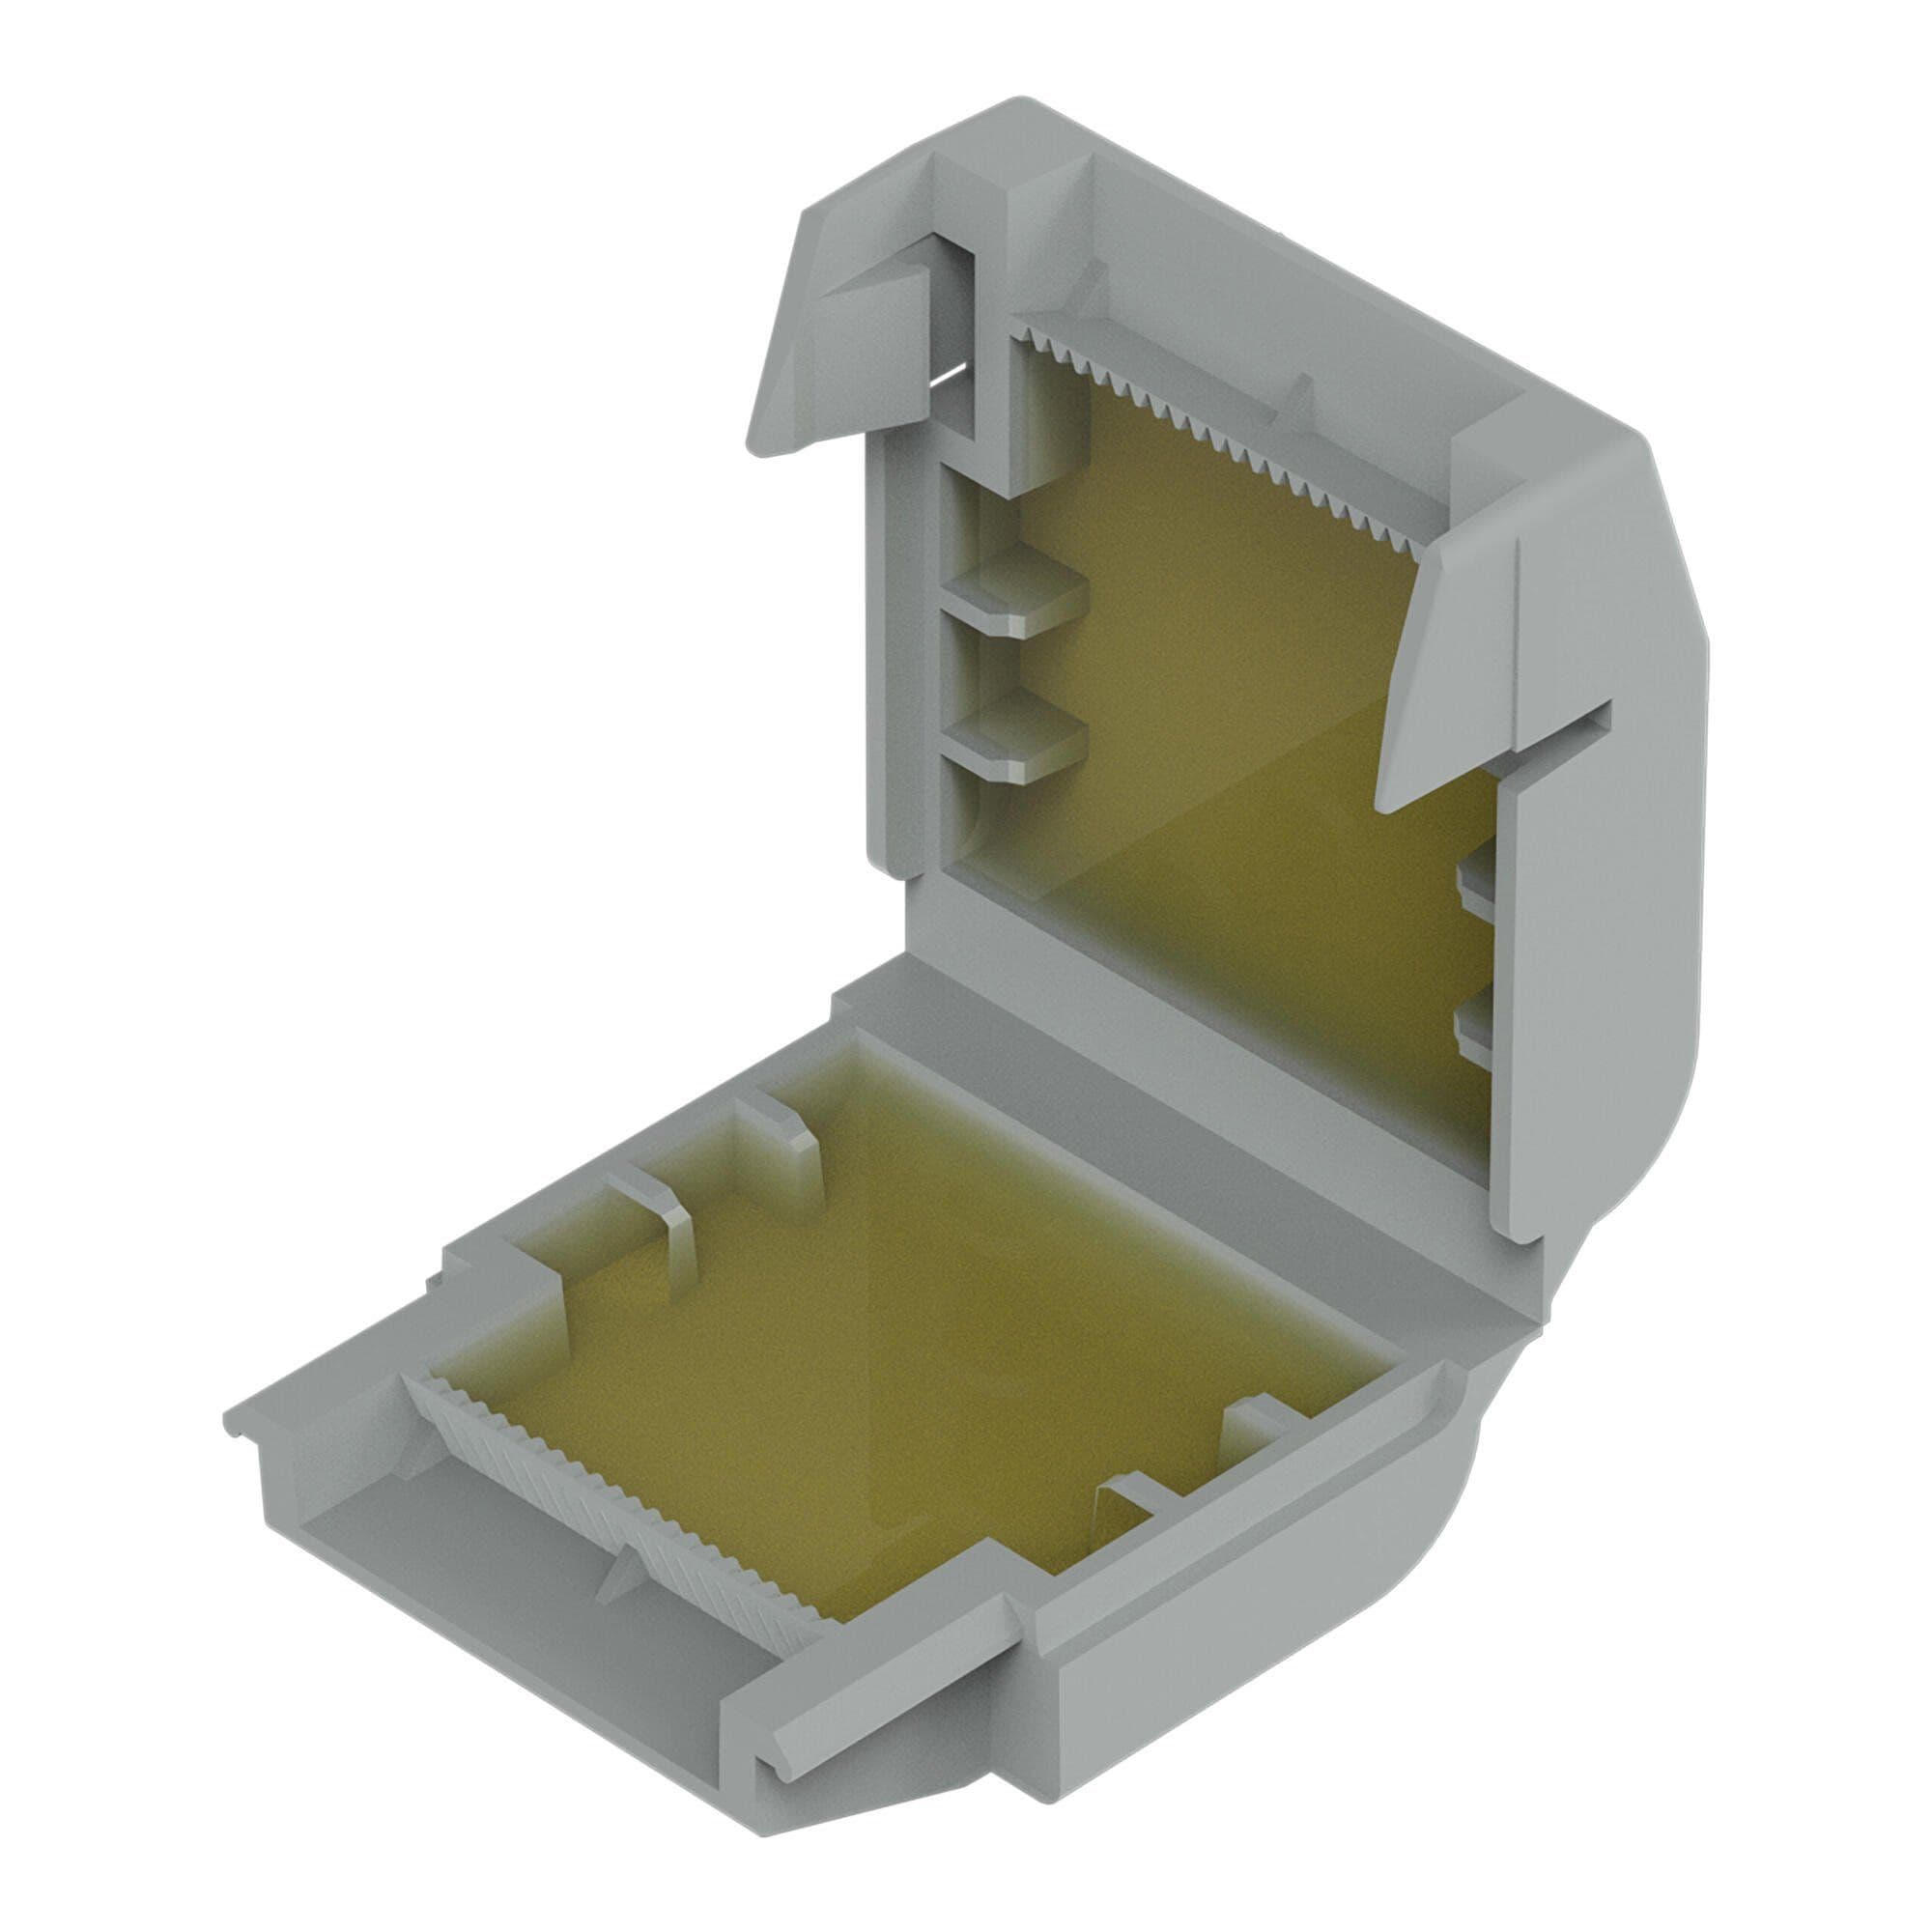
Outdoor or damp location? WAGO Gelbox is a pre-filled enclosure that surrounds your connector in gel and achieves a high level of moisture protection when used with the permitted connector combinations. That means the assembly is sealed against water ingress when used as directed. Always check the Gelbox size against your connector model.
Understanding the key specifications
Before you choose a part number, match conductor type, cross-sectional area, and current. The 221 lever series covers common domestic sizes up to 4 mm² and 32 A, while the 2273 push-wire suits solid conductors up to 2.5 mm² at 24 A. Remember that some accessories and junction systems may apply additional limits when installed as maintenance free. It is tempting to assume bigger is better, but oversized connectors can waste space and complicate enclosure layout.
Tools and preparation
One joy of Wago connectors is that you do not need a screwdriver to terminate them. You do, however, need sharp cutters, a reliable stripper set to the correct length, and ideally a continuity tester to prove your work. Mark your strip length with the gauge on the connector body, or carry a small ruler. A quick dry fit before you seal a junction box will save time later.
Strip lengths and correct termination technique
Accuracy here does the heavy lifting. With 221 series levers, strip to 11 mm, lift the lever fully, insert until copper is no longer visible in the inspection window, then close the lever firmly. With 2273 push-wire, strip to 11 mm and push home until you see the insulation at the window, confirming the copper is buried. Either way, give each conductor a gentle tug. Do not twist fine strands excessively and do not tin them with solder for installation wiring.
Step by step using a 221 lever connector
Plan your enclosure layout, strip each conductor to 11 mm, open the levers, insert the conductors fully, and close the levers. Keep neutrals with neutrals, lives with lives, and keep CPCs continuous or joined as required. Use the built-in test port to verify continuity and polarity before you close the lid. Label the box if future you might forget what you did today.
Step by step using a 2273 push-wire connector
Confirm your cable is solid copper of the correct size. Strip 11 mm. Push each conductor straight in until you can no longer see bare copper through the clear side. Test through the port, then enclose and secure the box. If you later need to remove a conductor, twist and pull rather than yanking straight out.
Step by step using an inline splice
Cut your cable cleanly, strip both ends to 11 mm and join with a 221 inline connector. This keeps the cable running straight through the box and can make strain relief simpler. Again, test before you close.
Using Wago connectors with flexible cable and ferrules
Here is a common contradiction. You will hear that ferrules are essential for flexible cable, and you will also hear that you do not need them. Both can be true. Wago’s own guidance is that approvals for fine-stranded conductors refer to untreated conductors, which means the 221 lever connector can clamp fine strands directly. Ferrules remain an option where your method statement, local practice or equipment specification demands them. Avoid push-wire types with fine-stranded flex, because those are intended for solid conductors.
Enclosures and junction boxes that work with Wago
A connection without an enclosure is not compliant. WAGOBOX Light and WAGOBOX XL are purpose-designed junction boxes that accept the relevant connector families, meet the applicable enclosure standards, and make strain relief straightforward. For inaccessible locations you must use an MF-rated solution that satisfies BS 5733 as well as the enclosure standard. That way you meet the letter and spirit of BS 7671 for inaccessible joints.
Typical wiring scenarios
Lighting circuits are the classic win. When converting a ceiling rose to downlights, use 221 levers to manage permanent lives, switched lives, neutrals and CPCs cleanly in a suitable box, then run flex to each fitting. For adding a spur or extending a ring, design the joint carefully. Verify conductor sizes, ensure enclosure capacity and strain relief are adequate, and confirm that your chosen connectors and box are appropriate for accessibility or MF installation. Outdoor joints for garden lighting or outbuildings benefit from the Gelbox to protect against moisture, but you still need correct routing, zones and mechanical protection.
Testing, inspection and fault finding
Do the simple things well. Visual checks first. No copper showing beyond the strip mark. No nicked insulation. Levers fully closed on the 221. Gentle pull test on each conductor. Then prove continuity, polarity and insulation resistance as appropriate for the work. Many Wago parts include a test port to speed this up, which is a practical touch when you have several similar joints to verify.
Do’s and don’ts for reliable connections
Do match the connector to the conductor type and size. Do strip accurately and use the inspection windows. Do enclose every joint and secure cables against strain. Do not mix solid and fine-stranded in a push-wire connector. Do not bury a non-MF junction where it cannot be inspected. Do not guess current ratings.
Wago vs screw terminals and crimps
Screw terminals can be excellent, yet they depend on torque, technique and routine maintenance. Crimps are robust when installed with the right dies, but they can be slow in tight spaces. Wago’s spring clamps give you consistent pressure without torque screwdrivers, rapid installation and easy testing. You still need good design and good enclosures, which is why the decision is less either-or and more horses for courses.
Safety notes competence and when to call an electrician
If you are not sure about zones, circuit loading, or inspection requirements, bring in a qualified electrician. A tidy connector cannot compensate for an unsuitable location or a mis-specified joint. Work on energised circuits is a hard no. Isolate, lock off and test before you touch anything.
Shop Wago connectors and accessories at Alert Electrical
Alert Electrical stocks the popular Wago 221 and 2273 ranges, inline splicing connectors, and compatible enclosures so you can complete the job properly the first time. If you need help matching parts to a specific use case, our team can point you in the right direction.