How to Wire a UK Plug Socket Safely

Ever find yourself staring at a new appliance, wondering how in the world you're supposed to plug it in without a socket in sight? Or maybe you're just fed up with extension leads snaking across your living room. If you're ready to take matters into your own hands, wiring a UK plug socket is a task you can definitely tackle—with a little guidance, of course! Safety is paramount when dealing with electricity, so we'll walk you through the process, ensuring you're well-equipped with knowledge and tools. Let's get started and light up your DIY spark!
Tools and Materials You'll Need
Before we dive into the nitty-gritty, let's ensure you've got all the right gear. Here's what you'll need:
- Flathead and Phillips Screwdrivers: For tightening and loosening screws.
- Wire Strippers: To neatly strip the insulation from wires without damaging them.
- Voltage Tester: A non-negotiable tool to check for live wires before you start.
- Electrical Tape: For safely insulating connections.
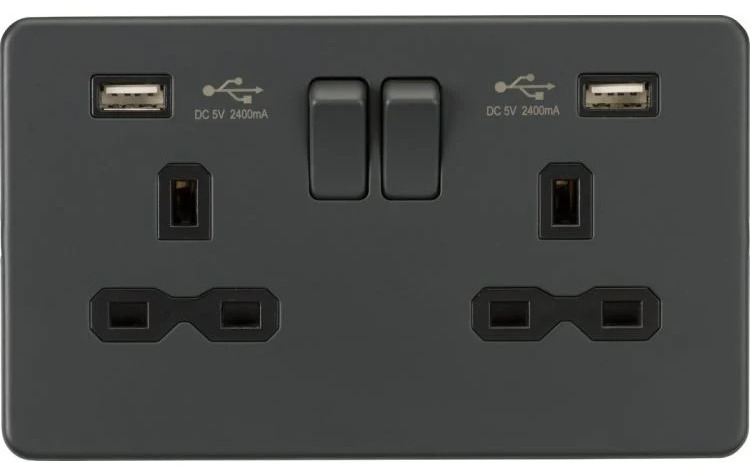
- A New Plug Socket: Choose a high-quality socket that complies with UK standards.
- Wall Chasing Tool: If you need to create a channel in the wall for new wiring.
- Safety Gear: Gloves and eye protection.
Step-by-Step Guide to Wiring a UK Plug Socket
Step 1: Safety First
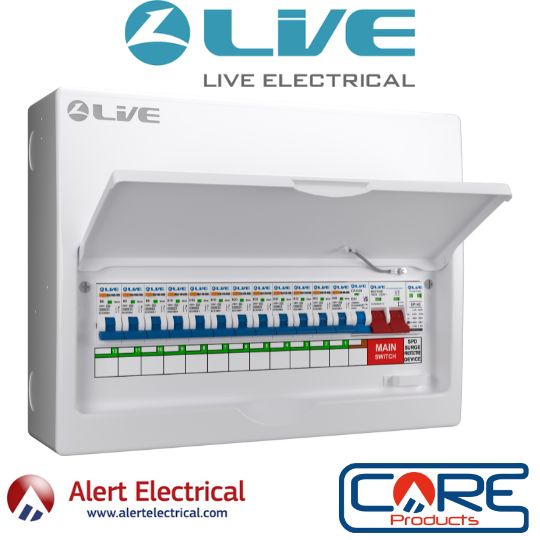
Turn Off the Power: This is crucial. Switch off the mains power at the consumer unit/fuse box. Confirm the power is off using a voltage tester.
Step 2: Prepare the Socket
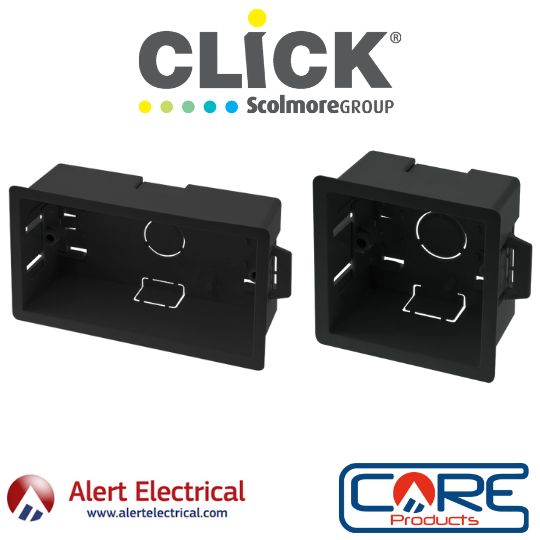
Remove the Faceplate: Unscrew the faceplate from the existing socket or the new mounting box you've installed. Take a moment to familiarize yourself with the wiring layout.
Step 3: Strip the Wires
Strip and Prepare: Use your wire strippers to carefully strip about 1.5cm of insulation from the ends of each wire (live, neutral, and earth).
If you are removing or swapping out your old plug socket for a new one, the wires should already be stripped. Just make sure that you cut off any damaged, loose or frayed wire. Cut back/ strip the insulation as needed.
Step 4: Attach the Wires

Secure the Connections: Connect the wires to their corresponding terminals on the back of the socket:
- Live (Brown/Red) wire to the L (Live) terminal.
- Neutral (Blue/Black) wire to the N (Neutral) terminal.
- Earth (Green and Yellow/Bare) wire to the E (Earth) terminal.
Make sure the connections are tight and secure.
Step 5: Reattach the Faceplate
Once all the wires are connected, gently push them into the mounting box and screw the faceplate back on.
Step 6: Restore Power and Test
Turn the power back on at the consumer unit and test the socket with a plugin appliance or a socket tester.
Conclusion: Empowering Your DIY Journey
Wiring a UK plug socket is a fantastic way to kickstart or continue your DIY journey, bringing not only convenience into your home but also a sense of accomplishment. Remember, safety always comes first, so never rush and always double-check your work. Whether you're looking to add flexibility to your living space or take on new home improvement projects, the skills you've learned today will surely light the way.
Before you start changing your socket feel free to browse the information outlined by Electrical Safety First (https://www.electricalsafetyfirst.org.uk/). Wiring should comply with IEE Wiring Regulations at all times.
If you have any doubts or worries about your ability to perform this change please contact a registered electrician.
Alert Electrical Limited is not liable for any damage or injuries sustained by following this guide. The guide above is designed to help you understand how to change a plug socket and help guide you through the process. The instructions, information and steps above may differ from what is required for your project.


